CAD/CAM Article
Choosing the Right e.max CAD Translucency: LT, HT, or MT? A Clinical Guide for Predictable Results
Kricket Doker, RDT, CDA
CDOCS Faculty

e.max CAD is a beautiful glass ceramic material with a wide range of indications, and it’s one I use frequently in my practice. One of the most common questions I get is:
Which translucency should I choose — LT, HT, or MT?
These options can be confusing, even for experienced clinicians. Understanding when and where to use each translucency is key to achieving predictable, esthetic results. Let’s break them down.
LT (Low Translucency):
When You Need to Block Out
Think: control, masking, and minimal translucency.
LT is comparable to traditional VITA shade tabs. It has:
- Lower value
- Very little translucency
- Strong masking ability
When to Choose LT
- Implant-supported crowns with custom abutments
- Cases requiring block-out of dark stumps
- Matching PFM crowns • Matching full-contour zirconia
- Situations requiring little-to-no translucency
Clinical Example
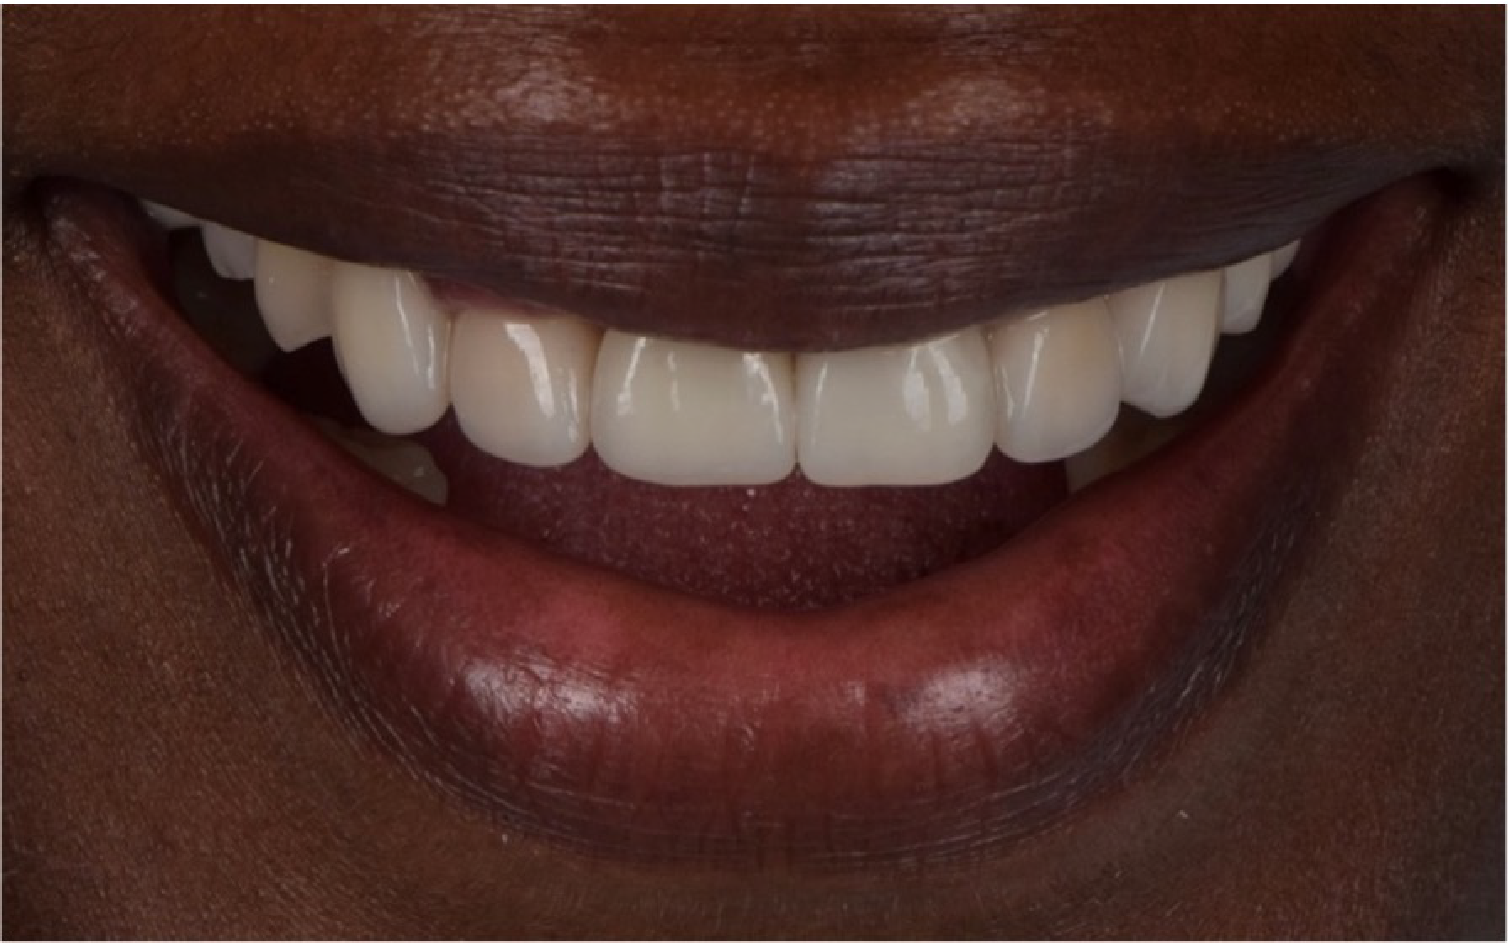
In a case restoring #6–11, teeth #8 and #9 were implant-supported crowns with custom anodized abutments. Because I needed to block out the color of the abutments, LT was the clear choice. The minimal translucency allowed me to control the final shade and prevent show-through from the abutment.
If you need opacity and control, LT is your material of choice.
HT (Hight Translucency):
When Light is Everything
Think: enamel effect, brightness, and light transmission.
HT is the opposite of LT. It allows significant light transmission and creates beautiful vitality — but it requires precision.
Key Considerations for HT
- Always use HT-specific shade tabs
- Mill one shade lighter than your match
- Carefully evaluate stump shades • Ensure stump shades are similar in multi-unit cases • Use try-in pastes to verify cement influence
HT can grey out easily if placed over a darker stump. Cement shade plays a major role in the final esthetic result.
Clinical Example
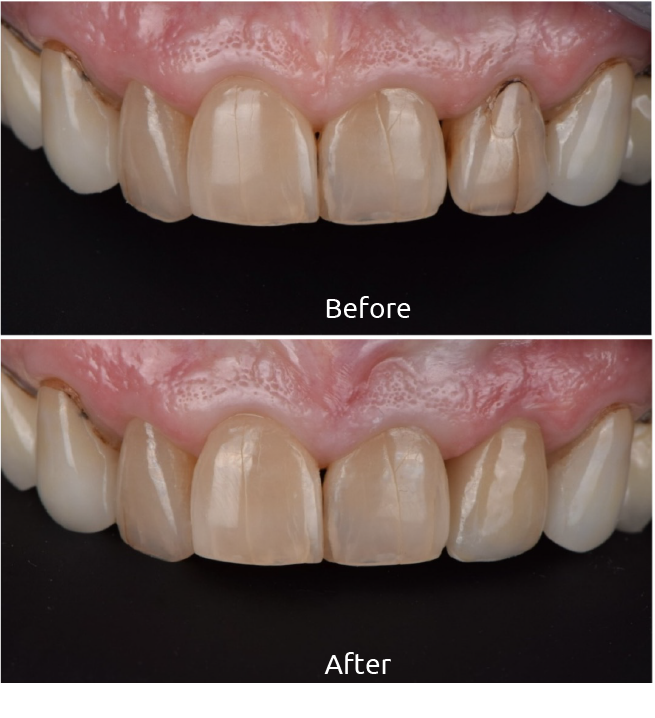
In a case restoring #10, adjacent teeth #7–9 had significant translucency, while #6 and #11 had very little. I chose HT to match the translucency of #7–9 rather than the opacity of #6 and #11. The case was finalized with MiYO liquid ceramic for a customized shade match and seamless integration.
If I had matched #6 and #11 instead, LT would have been the appropriate choice.
HT is ideal when you want to mimic natural enamel and maintain vitality — but only when the underlying conditions support it.
MT (Medium Translucency):
The In-Between Challenge
Think: balance and subtlety.
MT can be the hardest translucency to choose because it sits between the two extremes.
One important note:
MT shade tabs vary significantly from the traditional VITA shade guide. Always reference MT-specific tabs when selecting your shade.
When to Choose MT
- Cases that don’t clearly require full opacity
- Situations that don’t exhibit high enamel translucency
- Younger patients with natural vitality but not excessive incisal translucency
HT can grey out easily if placed over a darker stump. Cement shade plays a major role in the final esthetic result.
Clinical Example
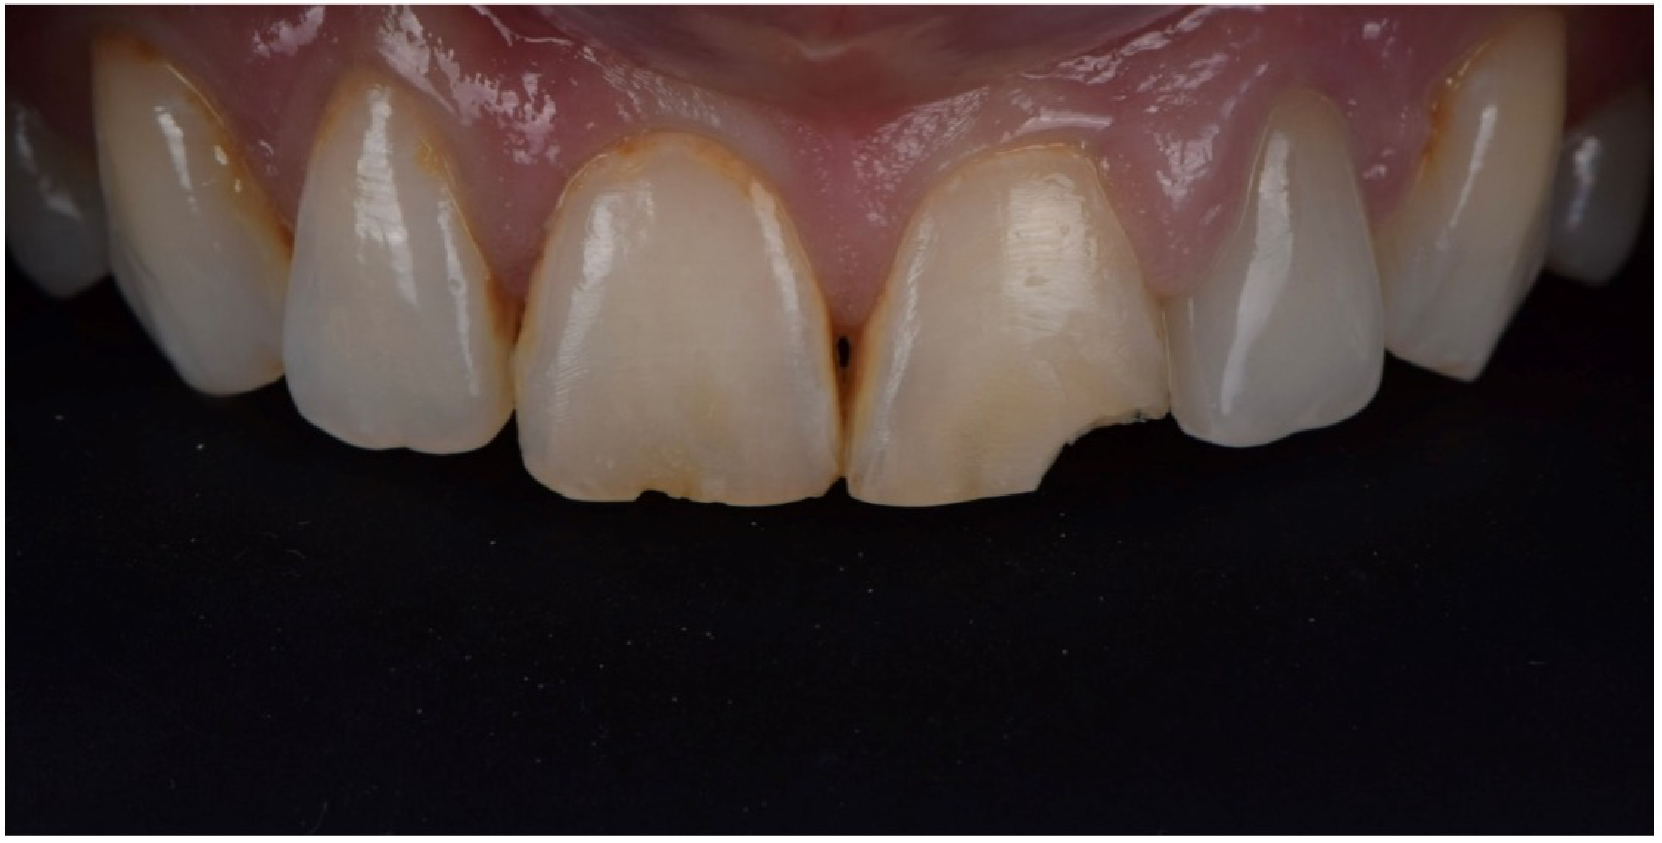
In a case on #8 and #9 for a younger female patient, there was moderate vitality but not high translucency. At the same time, the teeth did not have a dense, full-bodied color. MT provided the ideal balance, and with MiYO liquid ceramic layering, the result blended beautifully with her natural dentition.
MT is often the “Goldilocks” option — not too opaque, not too translucent — but it requires thoughtful evaluation.

Final Thoughts: How to Decide
When selecting e.max CAD translucency, ask yourself:
- What is the underlying stump shade?
- Am I masking something?
- How translucent are the adjacent teeth?
- Is this a single-unit or multi-unit case?
- Will cement shade influence the final esthetic result?
There is no universal answer — only clinical evaluation and intentional material selection.
Understanding the behavior of LT, HT, and MT allows you to move from guessing… to predicting.
And that’s where true esthetic control begins.
Related CDOCS Hands-On Workshops
Mastering Stain and Glaze for Dentists and Their Teams (CL220)
Taught by a master ceramist, this hands-on workshop covers shade selection, contouring, anatomy, polishing, and glaze application on both glass ceramic and zirconia — giving dentists and their teams a faster, more predictable workflow for lab-quality chairside results.
Anterior Esthetics with Chairside CAD/CAM (CL350)
Unlock CEREC’s anterior potential with hands-on training in shade selection, smile design principles, block choices, preparation techniques, contouring, and multi-unit cementation to deliver lab-quality esthetic results chairside with confidence and consistency.