Practice Safe Milling

There has been a great deal of discussion on the cerecdoctors.com discussion boards regarding milling and each material's ability to survive the milling process intact. We all love our emax restorations but find that if a margin is on the thin side we can get a chipped or rough margin right out of the mill. Many find the same to be true for Empress as well. Vita Mark II, the old standby, mills nicely unless the margin is really thin. The best margins and smoothest milling is by far evident in Lava Ultimate.
Of course we all know that a thick margin is best, but clinically we can have difficulty obtaining the ideal every time. We can resort to increasing the Margin Thickness Parameter on individual cases. I routinely do this for anterior crowns and veneers. The Margin Thickness Parameter makes the margin a bit thicker and more likely to withstand the milling process. You also have more material at that critical spot that can be polished down and hold up to the process as well.
There is another factor at play which can affect the integrity of the margin and that is the sprue placement. Many times the software will place the sprue close to the margin and at times even closer to a very thin margin. As the milling gets close to completion, the big restoration which is being hit by several high pressure water jets and poked and prodded by burs, needs to hang on. Once in a while, failure occurs and the sprue lets go early taking a piece of the margin with it. We can remill, but unless we change something the same result can occur.
We all know that we can change the location of the sprue at the mill preview by choosing "Tools" from the side bar and then "Sprue." This allows us to rotate the sprue around an axis on the restoration. Sometimes, however, the best location may be located on the proximal surface. I hate placing the sprue there; sure you can use magnification and remove it carefully, but why?
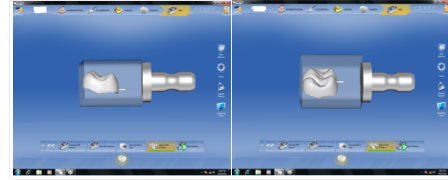
Well, there is a way to move the sprue higher up on the tooth, thereby effectively moving it from the margin to a much safer location. It’s really a simple thing to do. At the "Mill Preview," from the Side Bar, choose "Tools" and then instead of choosing "Sprue," select "Move" and then "Rotate." A circular axis opens up and by gently moving the restoration around the block the sprue location will move up and down that wall of the tooth. A little too far and it will jump down to the margin again so go slow.
I find myself using this on so many restorations. It takes a few seconds and works great. Give it a try on your next restoration. I think you will like it.
