Good Form or Nice Shape? Which Tool Do You Prefer?

In software versions prior to 4.0 my go to tool was the Form Tool. I was given some great advice very early in my CEREC journey. Find one tool that you like and learn to use it very well. For me, nothing beat the versatility of the Form tool. I could adjust occlusion, refine contacts and alter a tooth’s esthetics very quickly. It worked well in my hands and I was very comfortable using it.
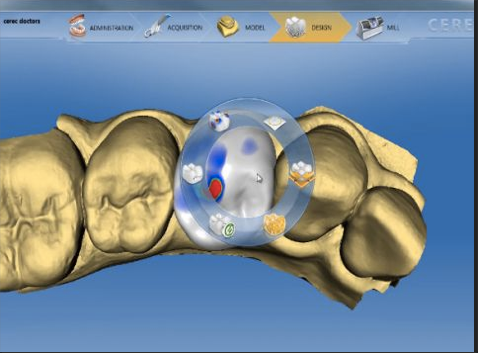
In comes the 4.0 software and some new tools were handed to us. I was resistant at first and figured; Why not just keep doing the same old thing? I promised myself that I would keep an open mind and try to climb outside of the box I was comfortable in. Well, the new tools proved to be more powerful and efficient than anything I had tried before. I have since evolved my strategy and now head right for the Shape Tool right out of the gate.
The Shape Tool offers us many options. The two sub categories of the Shape tool are Anatomic and Circular. Each of those categories has the option of Auto, 2 direction or 4 direction. Let’s start with Anatomic. By selecting Anatomic and holding the cursor over a part of the proposal you will see a highlighted area. This will correspond to a part of the tooth’s anatomy. For example, a cusp, the central fossa, a marginal ridge, an entire half of the tooth or even the entire tooth.
The automatic option will allow the software to select the directions the proposal can be moved. Generally it will allow you to move in four directions but it is dependent upon the view you are looking at the proposal from. From the occlusal view your choices will be mesial, distal, buccal, lingual. From the buccal or lingual view you will have mesial, distal, occlusal, apical. The main difference between Automatic and Four direction is that with Automatic you have areas of transition that offer many combinations of options. For example, if you move the cursor to the outside edge of the tooth, regardless of the view it will allow you to move in a single direction. It is very versatile and gives many options so all bases are covered.
Being the control freak that I am, I prefer to choose the directions I need. Four directional will always allow you to alter the proposal in four directions and Two, of course will allow you to move two ways. Now, by choosing the 4 directional mode, your directions are dependent upon the view you are looking at the proposal from. The occlusal view, gives you buccal, lingual, mesial and distal. The buccal or lingual view will give you mesial, distal, occlusal and apical. So you have total control over moving anatomic features of the proposal but this is totally dependent upon the view you are in and whether you are on an occlusal surface or an axial wall.
The Two direction Anatomic shape tool is also related to the position of the proposal and will always offer opposite movements. Mesial or distal, buccal or lingual, occlusal or apical.
So, where can this tool help us. I use it when I need close a wide open contact (Two or Four direction), When I need to raise the height of fissure. It is by far the best way to do this (Two direction), when I want to widen an entire buccal or lingual surface (Two direction) and when I need to move the buccal cusps into alignment with the other teeth (Two or Four direction)
In my next blog, I will detail the Circular Shape tool and all of its features. In the meantime, explore the Shape Tool. It is very fast, precise and powerful.