 Thomas Monahan
 I wanted to share my experience from some of these larger cases I have completed recently. First off, Level 4 was a huge help and I cannot give that course enough credit. Sam, Mike, and Mark do a great job updating the content and making sure to cover as much as possible. Everytime I mentor a Level 4 course I pick up something new that I can use when I get back to the office.
I took photos throughout the process, but don't want to overload with too many on this thread. What I did want to point out was how the process of Cerec and milling gets you about 80 % there. The mill likes to mill rounded angles so even with copying the waxup/mockup you will still have some work to do post milling. The models were ordered by exporting the case after margination as a .dxd file. Upload to Infinident and they will send nice solid models as well as trimmed models in about 3-4 days. Cost about $25. They can also send an opposing. Most of these cases I'll rely on the biocopy and never order the opposing.
Tips to make this process flow:
1. Get a good waxup from your lab. Most of the time they will waxup in grey or blue to allow contours to pop. A siltec stint or any putty stint should be made as well.
2. Transfer that to the mouth. I dont like trying to stitch the preps in the mouth to a waxup off a model. Have the patient work out the occlusion and copy that for your biocopy.
3. Any teeth more than 2, I do in 2 visits. Its just too stressful for me. Order a model and work on your own time.
4. Contour and prepolish then crystalize. (obviously if using Emax)
5. Then add characteristics with stains and fire. Finally glaze. If I separate these steps it just helps visualize the outcomes.
Case 1:
Preop Situation. Patient wanted spaces closed and new partials made to allow her to eat. Ortho was declined even though at a young 78 she probably could have done it. Emax A2 MT
Inital: 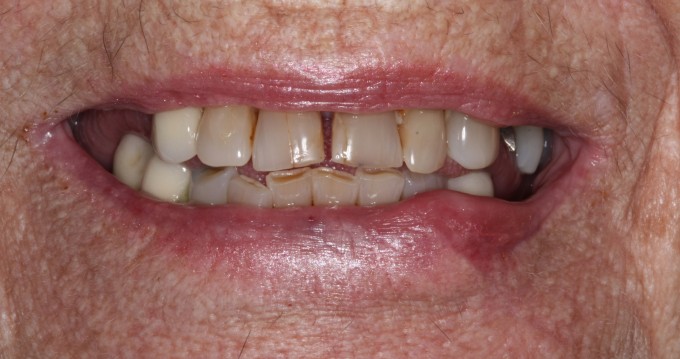
Test Drive. She wore these for about 3 weeks. Had to adjust occlusion once.
Initial Milled Models crowns on models from Infinident 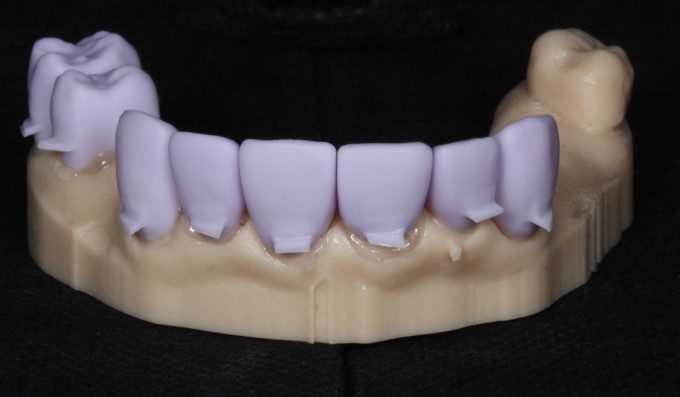
Contouring and Prepolish. Used all burs from Cerec Doctors Kit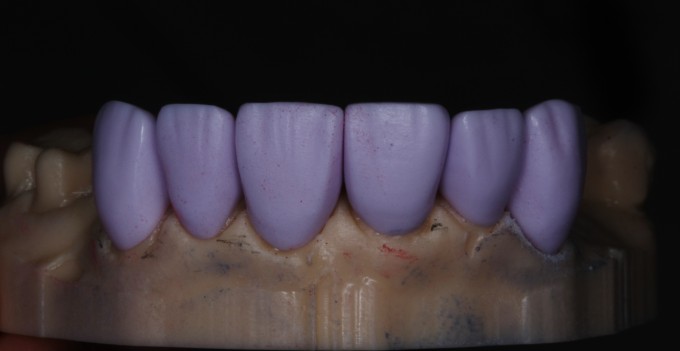
After Crystallization 
Stain and Glaze: 
Final Delivery: 

Case 2:
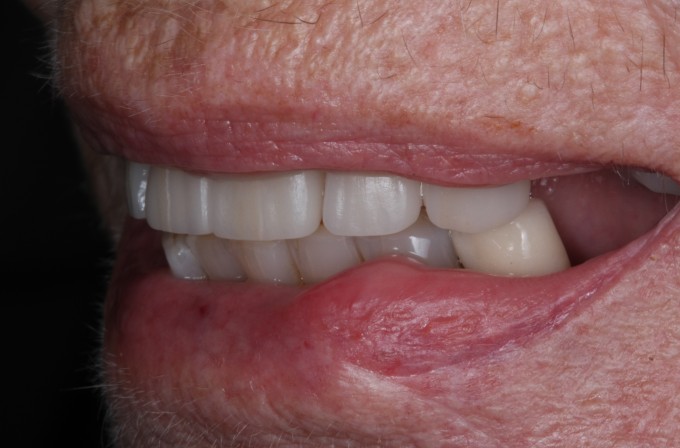
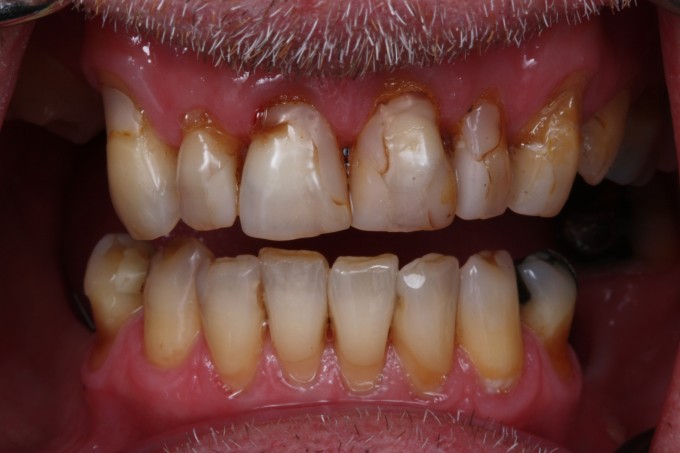
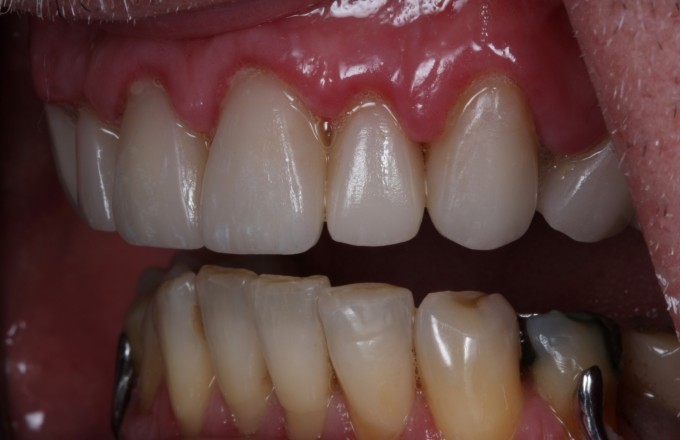
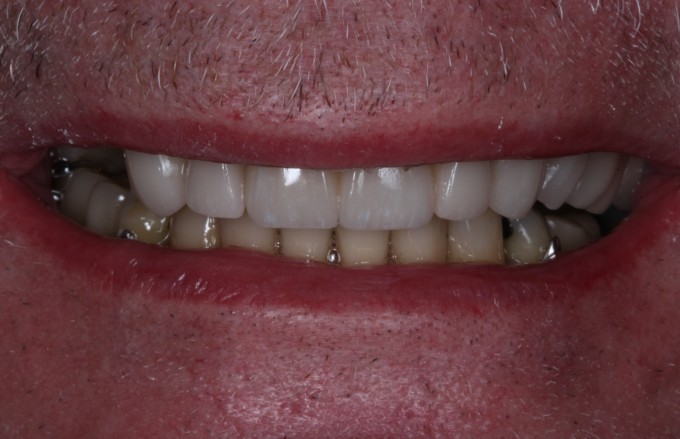
Several old restorations needed attention. Patient's OH is unfortunately not as good, but he is improving. His dexterity is not great due to medical condition. Electric tooth brush hopefully will help him. Posterior teeth were not built out to fill buccal corridor because he did not want to redo his LPD. So had to compromise. Also, had to compromise with him on shade. I did not want to go that white. ![]() Emax MT A1
Emax MT A1
Initial:
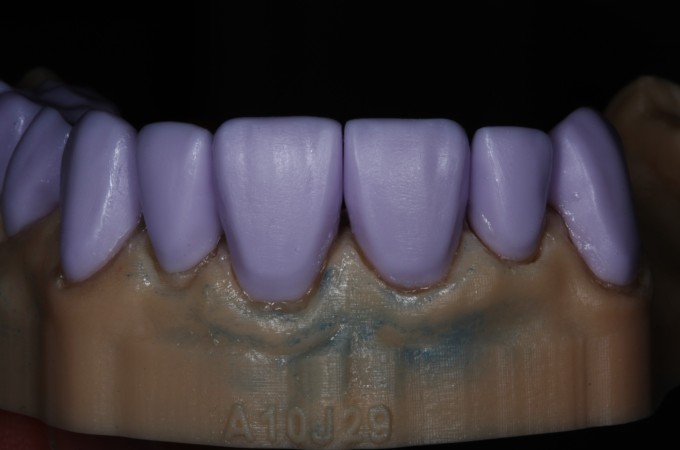
Lab Work: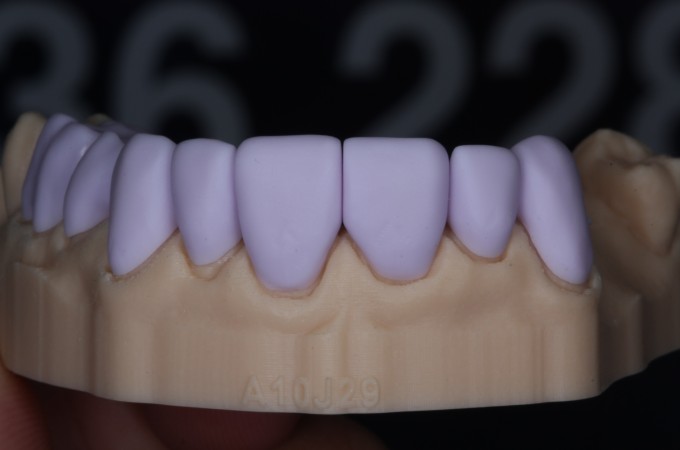

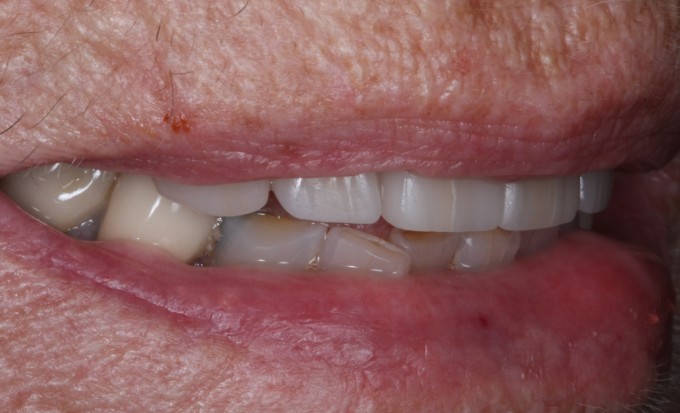
Post Ops: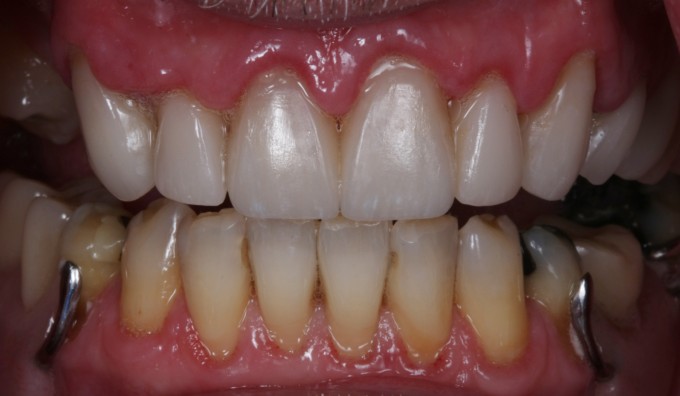

Hopefully this shows how important these post milling steps are. Do yourself a favor and if you really want to start doing some anteriors, check in to Level 4, totally worth your time.
Tom