Tissue Seperation With a Twist

Back in dental school, every crown was a PFM or all metal restoration. Every prep was the same, start with a 1.5 mm shoulder equigingival and then prep a nice long bevel subgingivally with a GTB bur. This hid the metal collar nicely for a few weeks. I am not even sure if the true GTB burs are around anymore, but there are variants that can be very helpful to us when prepping for CEREC restorations.
GTB stands for Gingival-Trough-Bevel. They were steel, 12 fluted burs and were meant to be used dry. The theory was that they would trough the gingiva to allow room for cord and to better visualize the margin in the impression. They created the bevel at the same time as well. They could create significant bleeding so by using them dry you got a certain amount of cautery effect. Essentially, heating the gingiva and blood to increase its ability to clot. Well why would you want to create bleeding at that point? Well, lets just say, that was the way it was done and any deviation from that was insubordination.
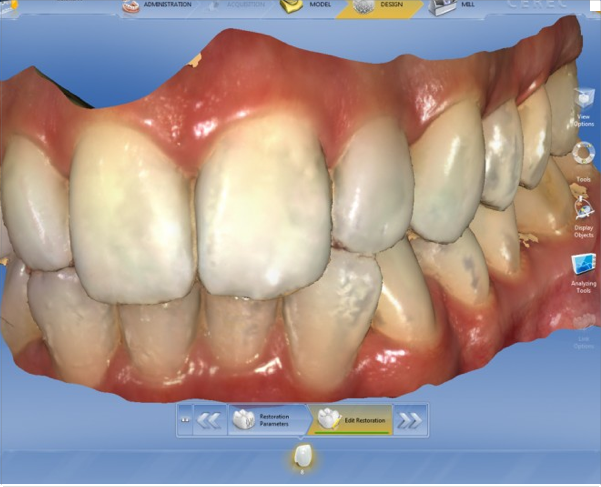
I forgot most of what I learned in school regarding prepping but a few gems were adapted to help out in today’s world. Keeping all margins supra gingival is the key to the best CEREC dentistry possible but more times than not, past preps and restorations force us to head below the dreaded gumline. This generally happens interproximally where the tissue is unkeratinized and prone to inflammation. How many times have you prepped just to the level of the gum and thought you were safe from bleeding only to blow air to dry the prep and find that alone causes blood to begin to ooze? We just cannot take that risk. In addition, the Omnicam will show us in color the difference between the tooth and gum for more accurate margination. That tissue still needs to be addressed so we do not get that dreaded ooze at the moment of cementation.
In comes the new version of the GTB bur (minus the B). Instead of pussy footing around that miserable interproximal tissue, I prep my shoulder and then expose it with a Patterson brand 12 fluted carbide 7902 (Patterson number 084-0918). I just carefully plunge it alongside the margin being careful to not nick or inadvertently bevel the margin. The tissue is removed and with light water spray, it really doesn’t bleed that much. I only use it where the prep goes to the gingival level or below and only where the tissue is inflamed.
Then it is so simple to either pack cord or lightly use the laser to dry the tissue up. It saves a great deal of time with the laser and minimizes any collateral damage that the laser may cause. Imaging is super easy once those difficult interproximal margins are exposed.
There are many ways to deal with this type of tissue and tissue separation. This is just one of them and is something that works well when needed. I find that the tissue heals nicely after a few days and the patients never complain of discomfort. I generally will apply a deep penetrating topical to the area rather than inject directly into the area, although that can be done as well.
Prepping is an evolution over the course of an entire career. What I am doing now, may not be what I will be doing in five years. That’s what keeps dentistry interesting. The new GTB burs will be around for a while though. Good Luck!

i use either and/or a diode laser and expasyl with a comprecap to get that tissue out of the way by creating a trough around the prep and makes your margin "pop"
jfs2dmd