CAD/CAM Article
CEREC Materials Guide: How to Choose the Right Block for the Right Case. A no-nonsense guide to understanding your material options and making the right clinical choices.
Dr. Penelope Chang
Visiting Faculty

When you first start using CEREC, the hardest part often isn’t the software or the milling—it’s knowing which block actually makes sense for the case in front of you. Choosing the right CEREC block becomes a lot easier when you have a straightforward way to match “case type” to “material category”.
Let’s begin with a quick breakdown of CEREC material families in strength order:
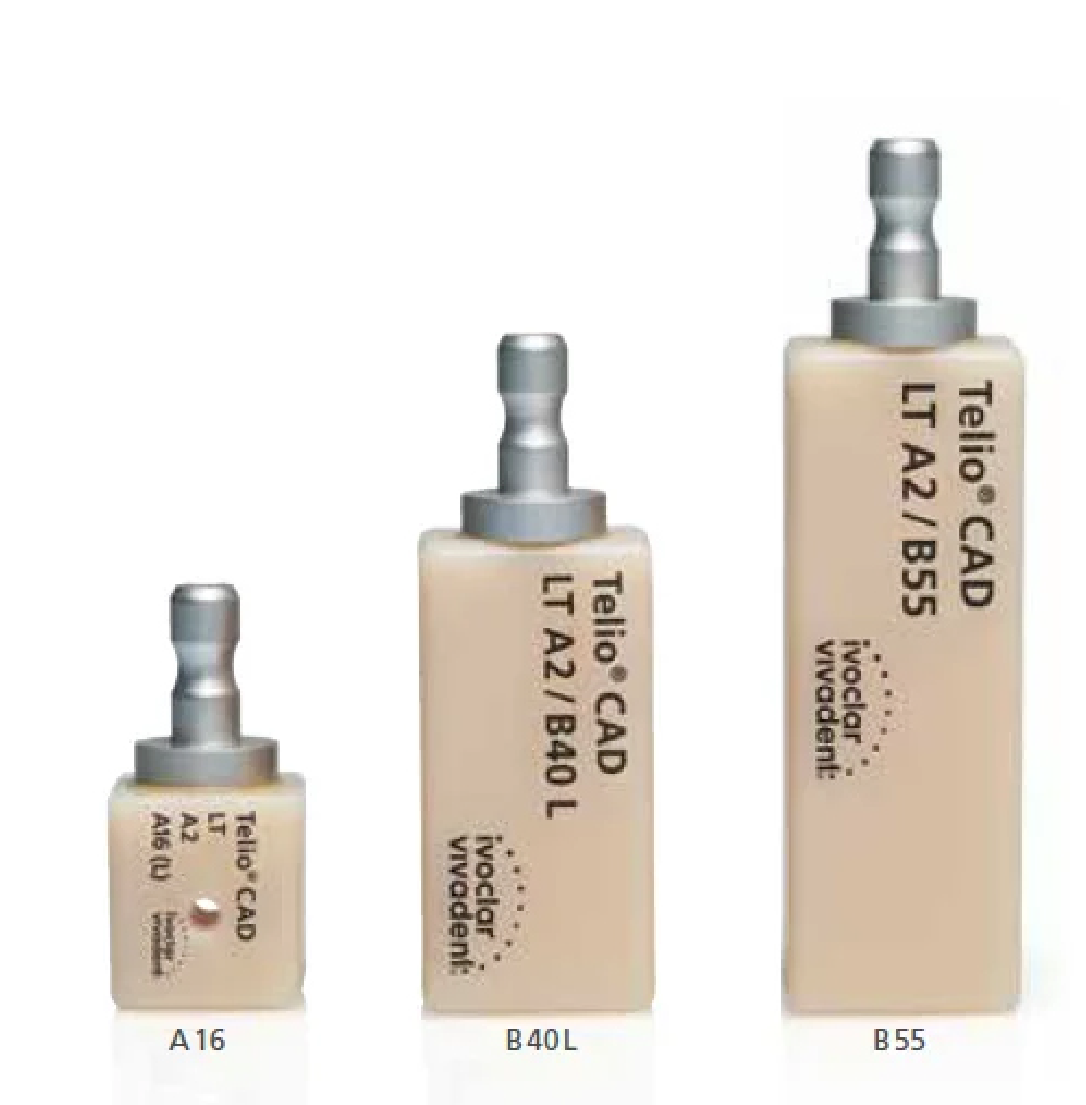
PMMA Blocks
(e.g. Telio Cad)
Ideal for provisionals and diagnostics: temporaries, long-term provisionals, immediate-load implant temporaries, and test drives for occlusion or esthetics before committing to definitive ceramics.
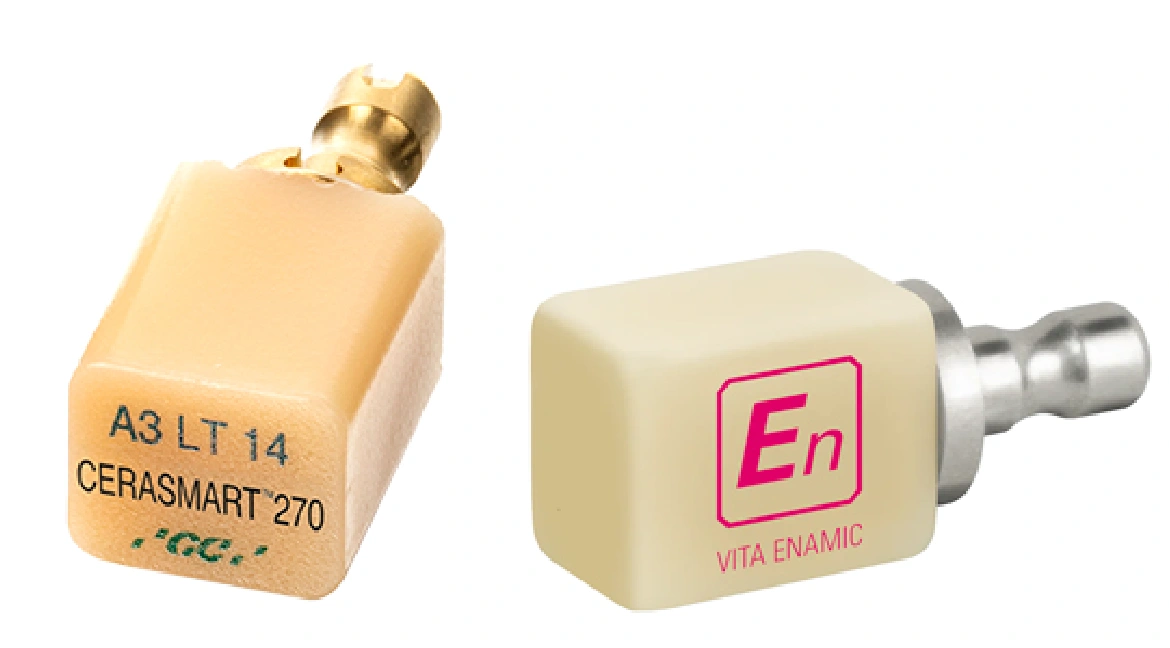
Hybrid / Resin-Ceramic Blocks
(e.g. Cerasmart, Enamic)
Less prone to chipping, easier to adjust and polish, kinder to opposing dentition, and easier to repair. They give you a ceramic-level fit with composite-like forgiveness.
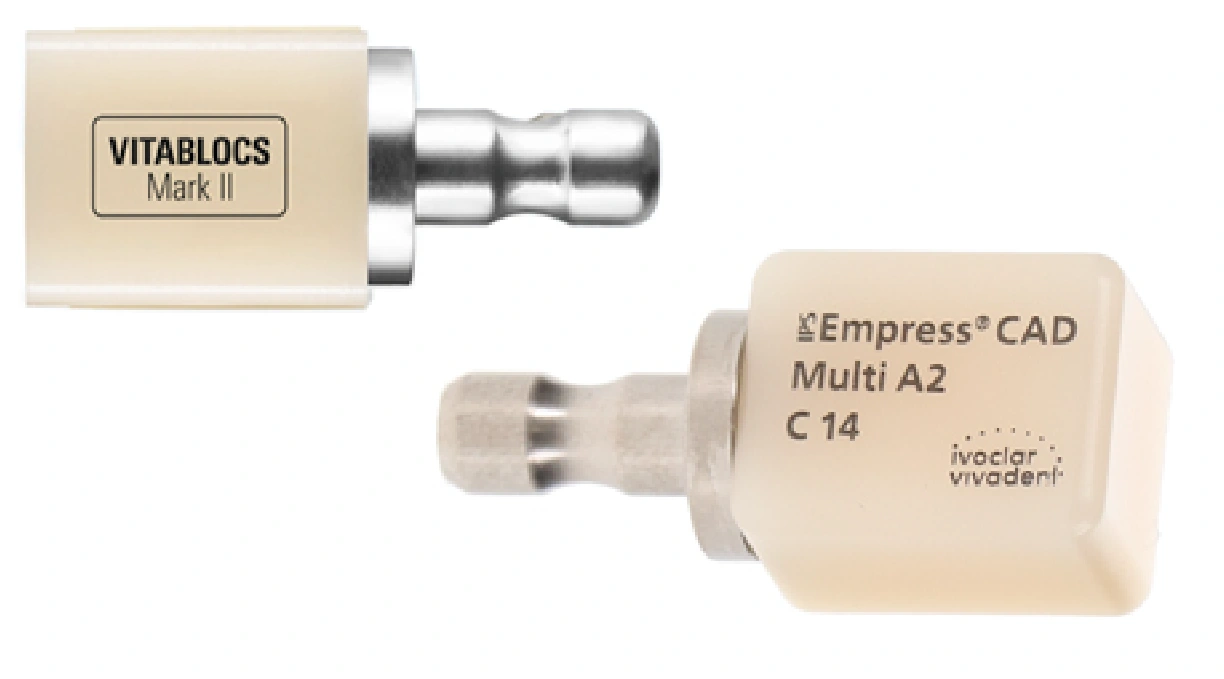
Feldspathic / Leucite Glass Ceramics
(e.g. VITABLOCKS Mark II, Empress Multi)
Top-tier esthetics, enamel-like translucency, great for bonding in low-to-moderate load situations. Ideal when cosmetics and enamel bonding are your priorities.
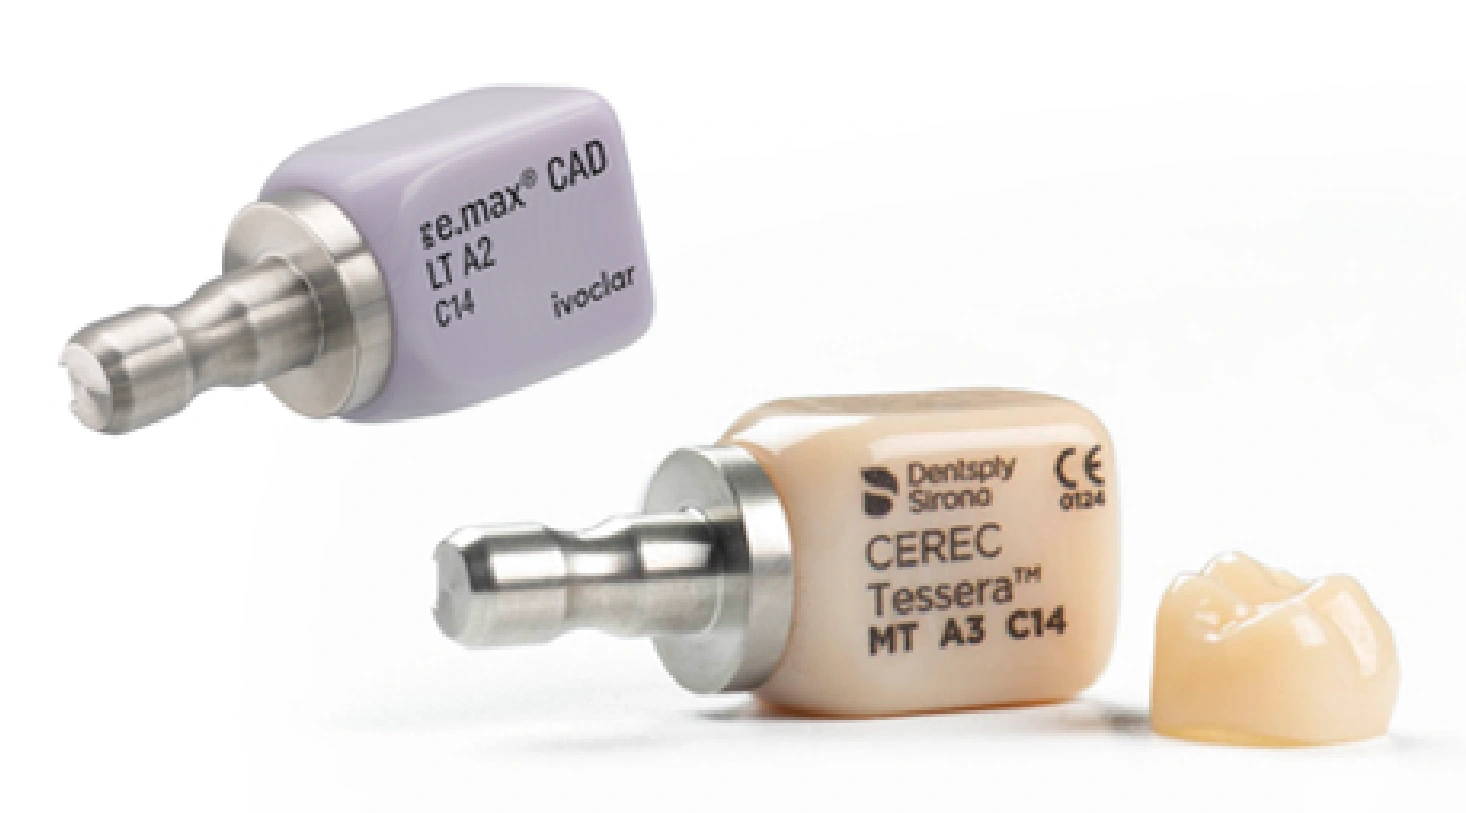
Reinforced Glass Ceramics
(e.g. e.max, Tessera)
Your “do-everything” glass ceramic. Stronger than feldspathic, still highly esthetic, and excellent for adhesive bonding. Great for all indications. Most systems offer multiple translucencies (HT, MT, LT), so you can choose higher translucency for enamel-like cases and lower translucency/more opacity to help mask darker stumps or discolored cores.
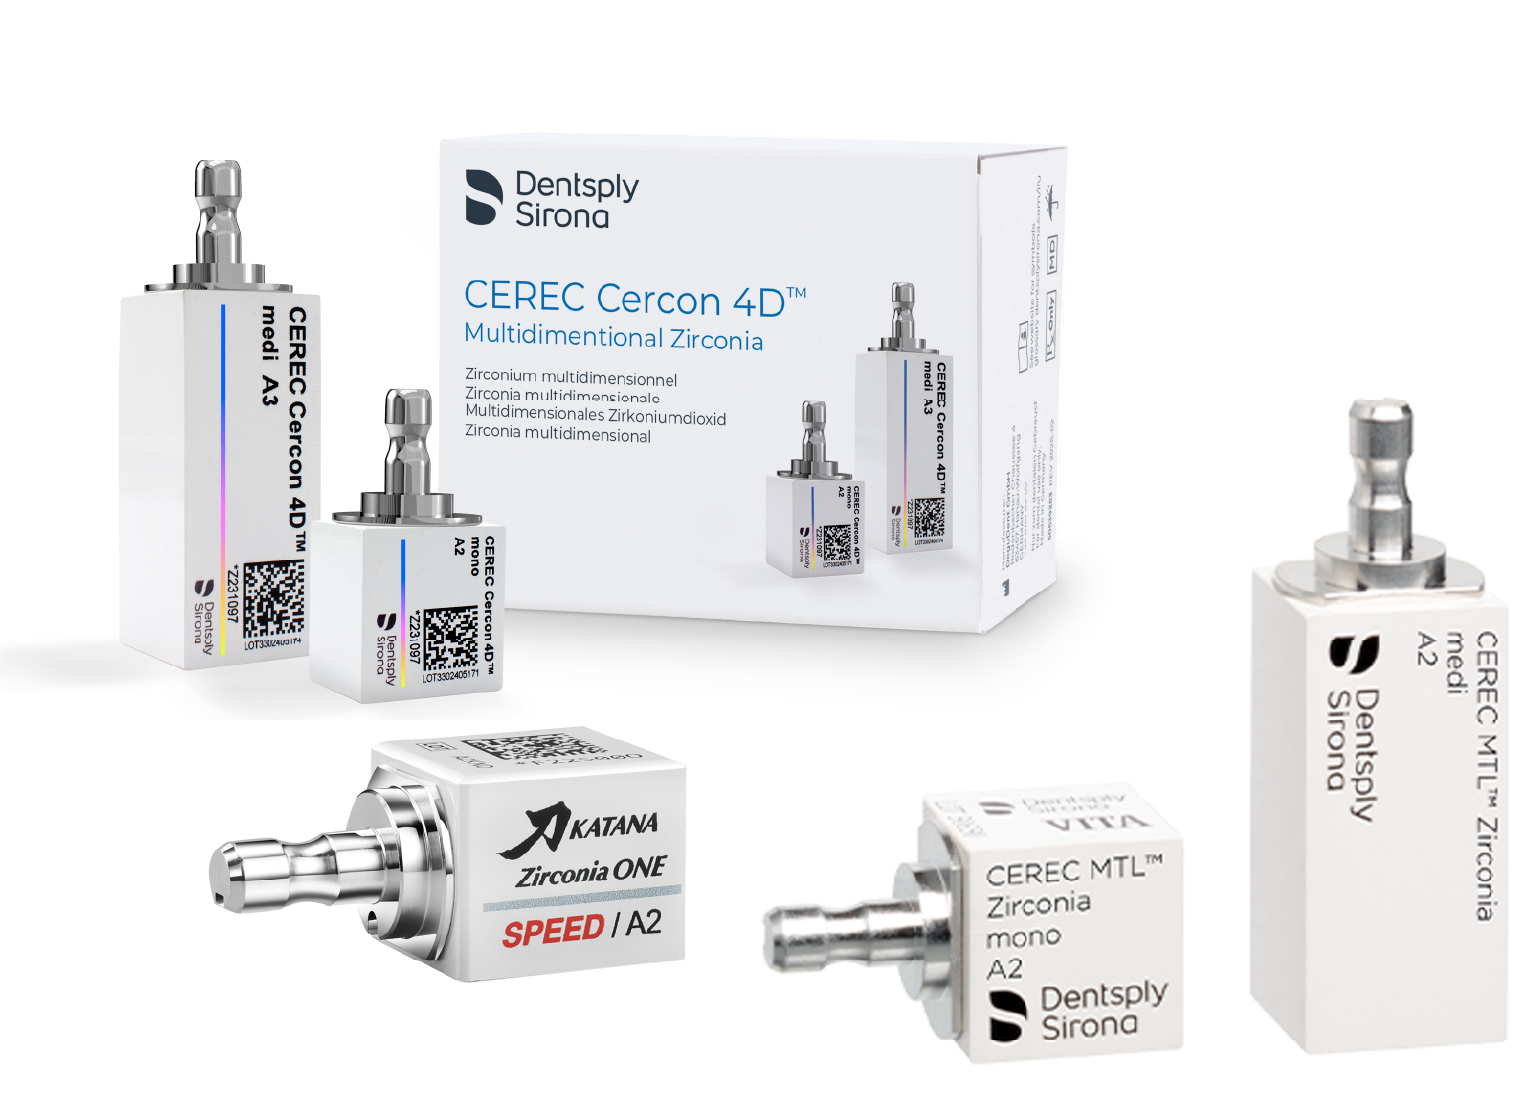
Zirconia
(e.g. Katana ONE / One Speed, Cercon 4D, CEREC MTL)
Ideal for provisionals and diagnostics: temporaries, long-term provisionals, immediate-load implant temporaries, and test drives for occlusion or esthetics before committing to definitive ceramics.
Now let’s plug each case into a simple framework:
Restoration type / Load / Bonding conditions / Material.
Restoration type
Veneer
esthetics + enamel bonding
Load
Usually moderate if the patient isn’t a heavy burner
Bonding conditions
Good isolation and enamel bonding
Go-to materials
Feldspathic/Leucite glass ceramics – for minimal-prep, high-esthetic veneers with strong enamel presence
Reinforced glass ceramics – when you need more strength or masking (darker stumps, larger wrap-around preps)
Restoration type
Inlay/
Onlay
conservative strength
Load
Often significance, especially on molars
Bonding conditions
Adhesive bonding is expected
Go-to materials
Hybrid/resin-ceramic blocks – when you have high functional risk, want some resilience, or are in a diagnostic phase
Reinforced glass ceramics – default for cusp coverage and conservative posterior restorations
When to change the plan – If the onlay becomes very large on a second molar in a bruxer, consider switching to a full coverage crown – often zirconia
Restoration type
Crown
anterior vs posterior,
bonded vs cemented
Load
Anterior vs premolar vs molar
Bonding conditions
Can you reliably isolate or do you need conventional cement?
Go-to materials for anteriors
Feldspathic/Leucite glass ceramics – when load is low and you’re chasing maximum esthetics
Reinforced glass ceramics – for strength + esthetics with adhesive bonding
Go-to materials for posteriors
Reinforced glass ceramics – for premolars and select molars with normal load and good bonding conditions
Zirconia – for molars, short clinical crowns, parafunctional patients, compromised isolation: use conventional cementation with a retentive prep
To review, here is the chairside checklist:
- What am I restoring? (veneer, inlay/onlay, crown)
- How hard will it be chewed on? (normal vs parafunctional)
- Can I reliably bond, or do I need to cement?
Here’s how I break it down using my go-to materials:
- Veneer = Empress Multi / e.max
- Inlay/Onlay = Mostly hybrids like Cerasmart
- Crown = Anterior : Empress Multi / e.max Posterior : e.max / zirconia

Conclusion
Build the habit of running through this checklist, and “Which CEREC block should I use?” becomes a predictable, defensible decision—not a guess.
Related CDOCS Hands-On Workshops
Core Workflows with Chairside CAD/CAM (CL200)
Master CEREC’s full potential with hands-on practice in crown fabrication, occlusion, multi-unit bridges, material selection, and digital workflows — empowering both new and experienced users to deliver faster, more predictable chairside restorations.
Anterior Esthetics with Chairside CAD/CAM (CL350)
Unlock CEREC’s anterior potential with hands-on training in shade selection, smile design principles, block choices, preparation techniques, contouring, and multi-unit cementation to deliver lab-quality esthetic results chairside with confidence and consistency.