 Mike Skramstad
 I know others have posted different techniques using other softwares to execute Essix retainers. I don't think anyone has done it the way that I have though, so I thought I would share...
If you have heard me speak about my feelings on 3D printing, I love it.... BUT, I will not completely love it until I can be 100% digital for all procedures. Now theoretically you can do that now, but I want it to be efficient. That is, I currently mostly print models and guides for esthetics and implants. What I want is to be able to handle everything from bleach trays to essix retainers, etc... I basically want to eliminate all impression materials completely from my office. For this, 3D printing needs to be fast and also a bit more automated I believe. Once that is the case, I would certainly be willing to pay more for a 3D printer if it had more applications like this.
So.. here is a case I did with the inLab software. I know that most of you do not have the inlab software (in US), but it gives you an idea of the possibilities that hopefully we will see at some point.
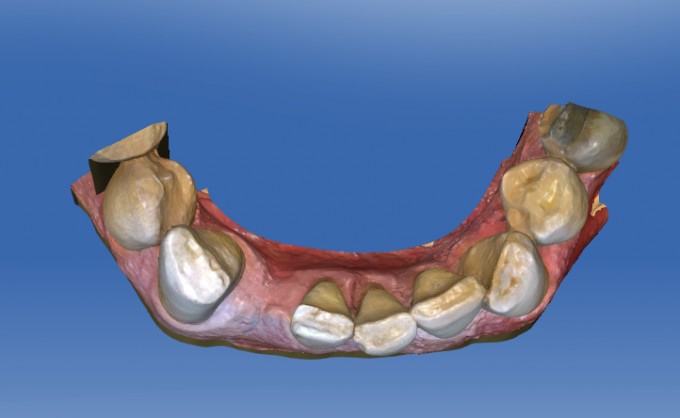
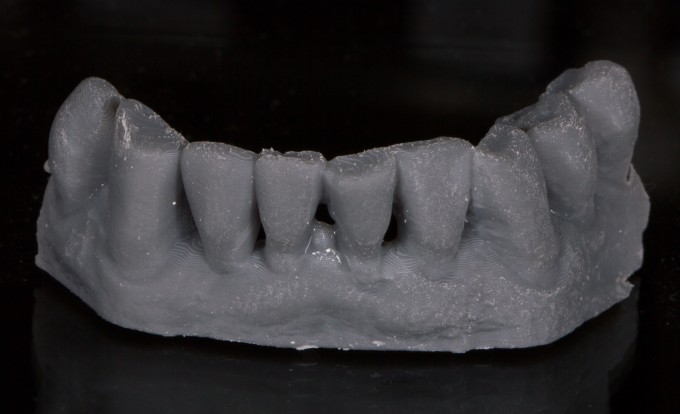
Patient missing tooth #26. Has been wearing an essix retainer long term that he broke.
Scanned with the Omnicam:

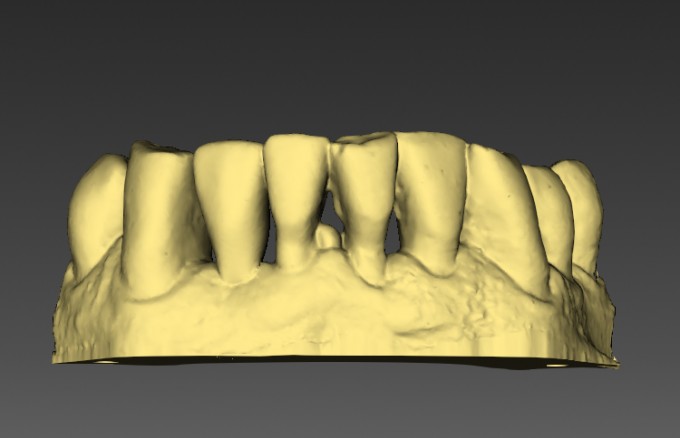
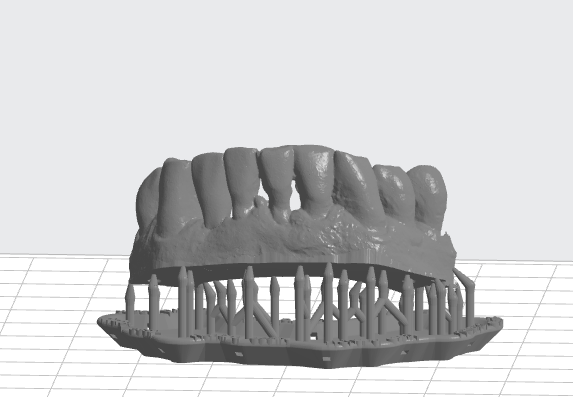
Exported .stl high resolution and loaded into inLab 18. From there, designed a crown in the space:
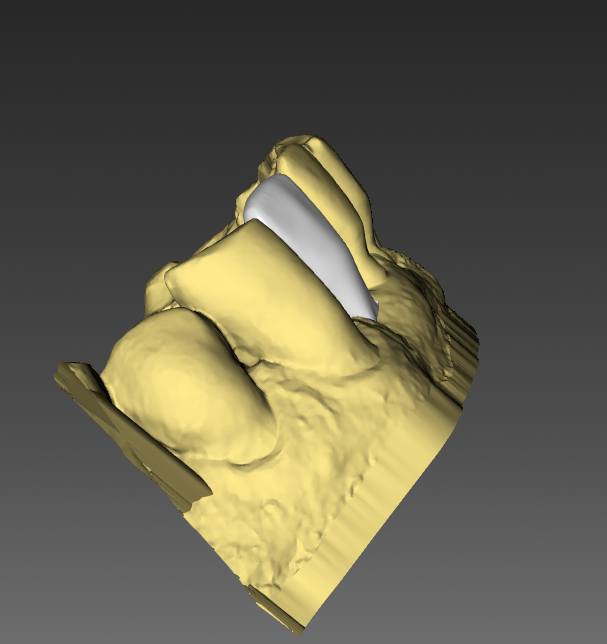
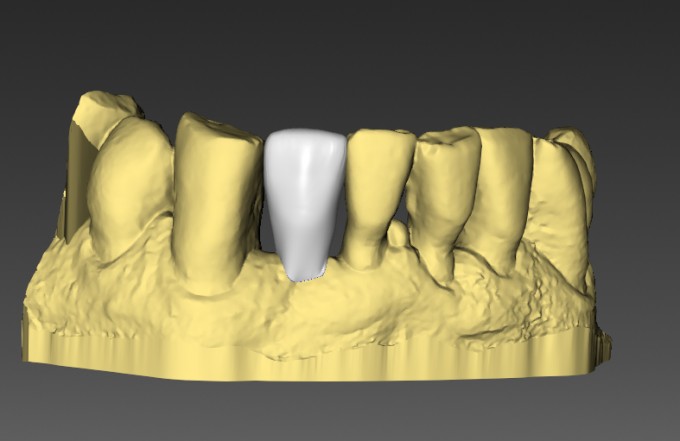
After design, virtually seated and added a base to it:
3D printed it in grey resin (100 microns Z)
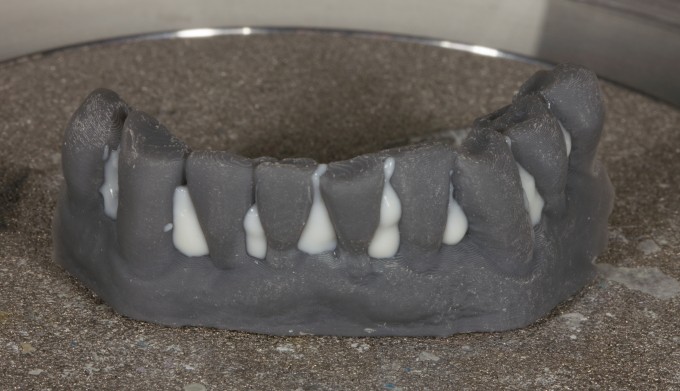
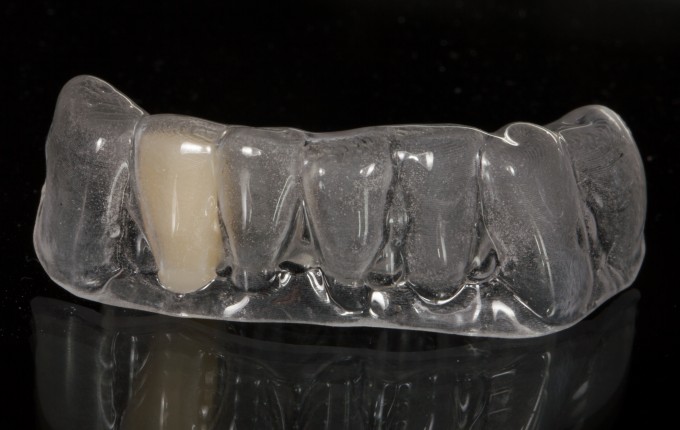
Block out undercuts and used Ministar and 1mm Clear Splint Biocryl :
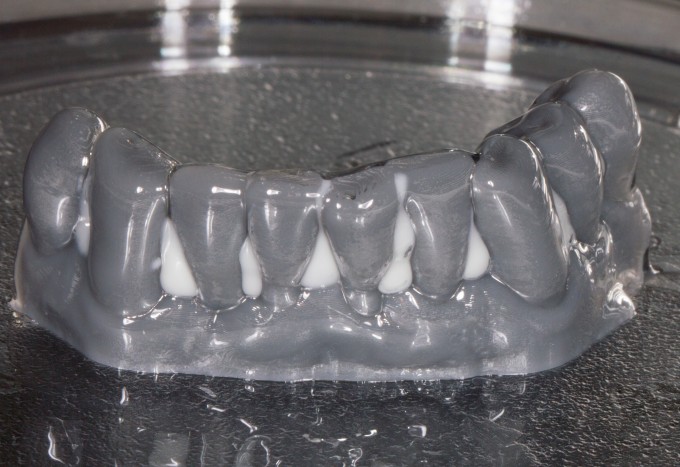
Now, the best part... go into inlab 18 software, reverse the virtual seat and choose the original layer, export the .dxd file, import into CEREC and then mill the tooth (composite block). Then insert it into the Essix...done.
There may be cheaper ways to do this, but this was super easy and my guess is that it will be very predictable. That is what is important to me.