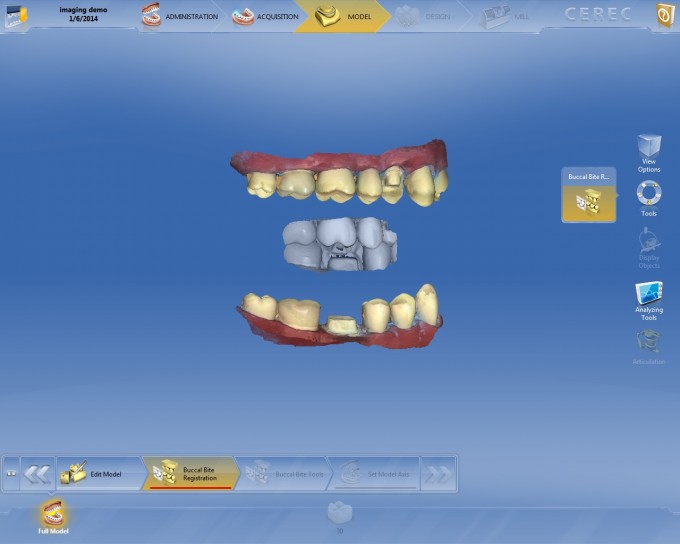
With the new 4.2.3 software, the buccal bite has really been optimized nicely. I still think it is very important to do a few things while imaging to make the buccal bite stitching process as seamless as possible.
First off, I like to include the prep when I can. This is a great landmark with very definitive anatomy that allows the software to easily stitch the bite. This does not happen if I take buccal bite before I prep. In the case of taking buccal bite while the patient is getting numb before prepping, I make sure to capture enough information of the adjacent and opposing teeth that will remain consistent and unchanged after I prep that tooth. This will allow a consistent stitching.
When I image the arches, I make sure that I always finish imaging with the camera facing down the long axis of the tooth. This angle keeps the models perpendicular and oriented properly to facilitate the easiest stitching. If I need to acquire some additional info on the buccal or lingual, I will capture that info, but then bring the camera back to the occlusal surface and finish the imaging there to reorient the model and decrease the amount of work needed in adjusting the model both with the buccal bite and during the model axis step.
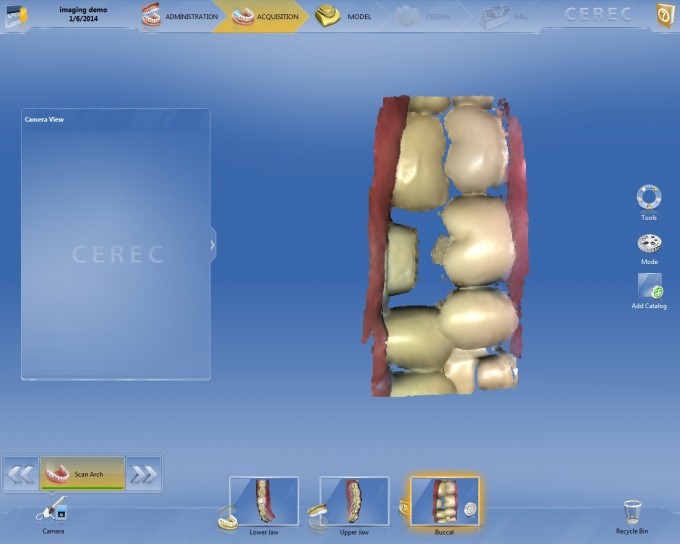
When I take the buccal bite image, limit it to just a few teeth and pretend like you are taking a bitewing radiograph. I say this because if you are trying to bisect those interproximal spaces, it keeps the camera perpendicular to the buccal surface and causes you to need to do very little maneuvering of the mandibular or maxillary models to get them to stitch to the bite. If you finish with the camera pointing down the long axis of the occlusal table and bisecting the interproximal space of the buccal bite, you will barely need to manipulate the models to get a quick and easy stitching.
 Rich Rosenblatt, D.M.D.